


【AI Backgrounds】Usage Guide
Tim·Tue Jul 30 2024
date
Jul 30, 2024
content
slug
ai-backgrounds-usage-guide
author
status
Public
keywords
AI Tools
Digital Marketing
Usage Guide
【Al Backgrounds)
summary
This guide covers how to use the AI Backgrounds tool, which allows users to add, change, and enhance backgrounds in images using AI technology for more professional and creative results.
type
Guide
thumbnail

category
Tool Tutorials
Language
英文
updatedAt
Jul 30, 2024 04:00 PM
Struggling with designing e-commerce main images?
Out of design ideas and finding it too taxing?
How about quickly and easily creating scene images?
Our "Background Image Generator" is here to help merchants effortlessly craft scene images.
And enjoy a limited time offer for unlimited free use of the scenario templates!
Step-by-Step Guide
Step 1
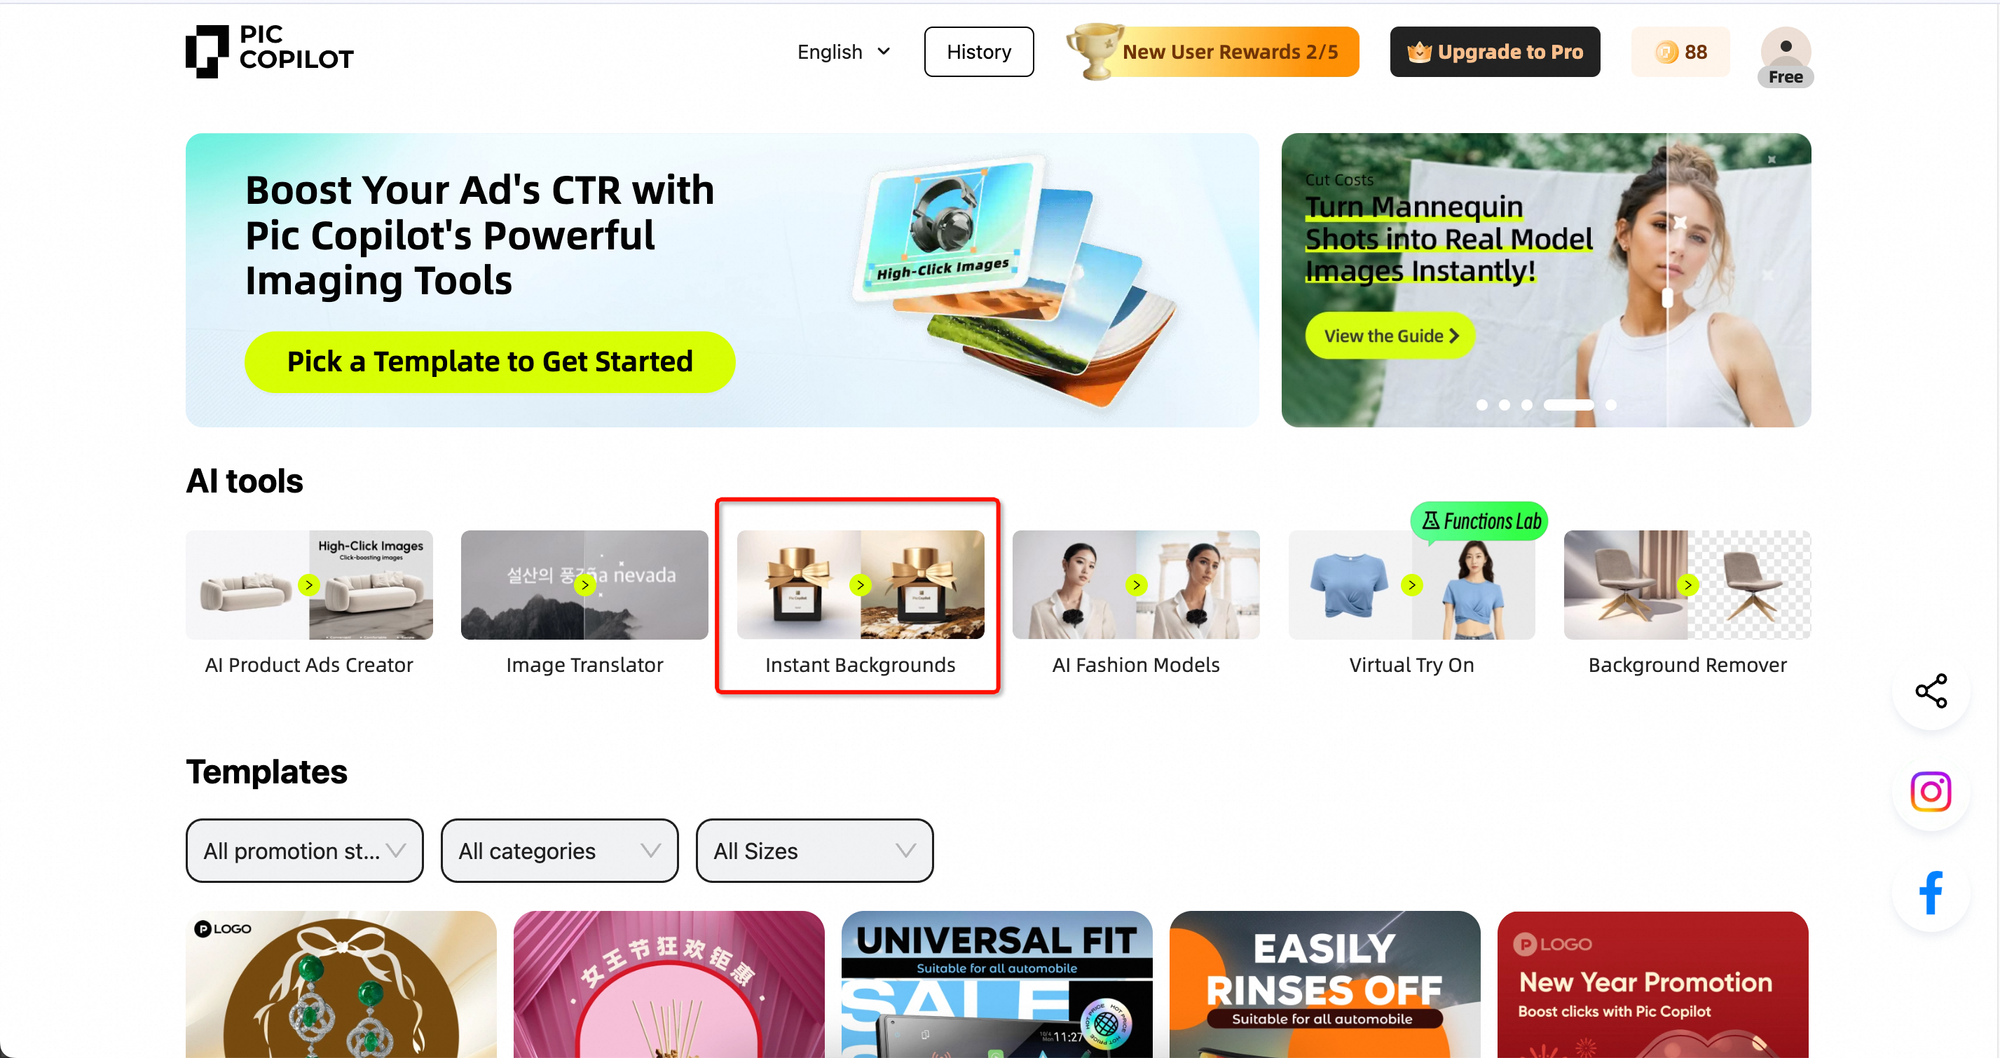
Find the "Instant Backgrounds" tool on the Tools page and click【Go】.
Step 2
Click to upload your product image (you can also use the product image on the right if you want to try it out).
🔔Don't worry if your image is not white background; our tool can remove it automatically. If the automatic cut is not perfect, you can choose【Manual Remove Background】and even remove the watermark.
🎁Special Features: Support Speedmart merchants to copy the product link directly and get the product image automatically!
Image upload interface
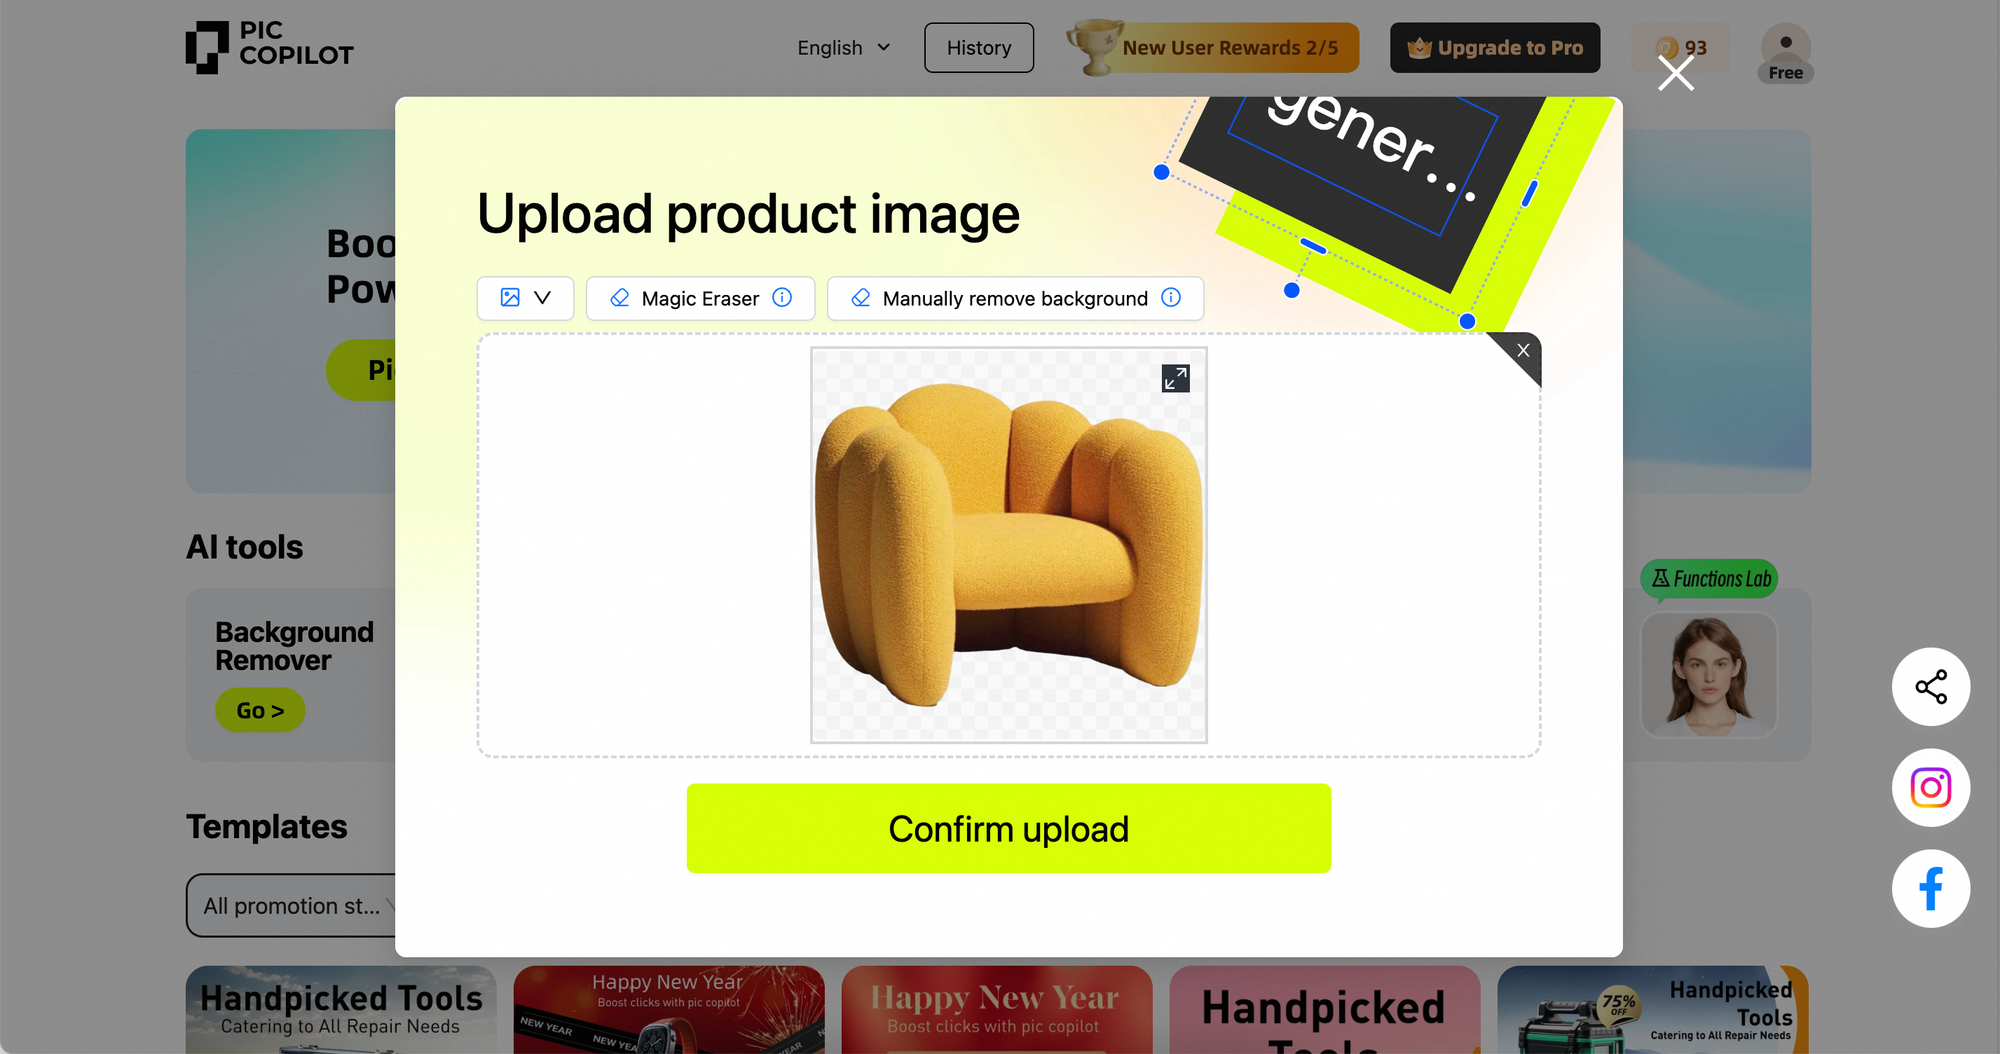
Image Upload Edit Interface
Step 3
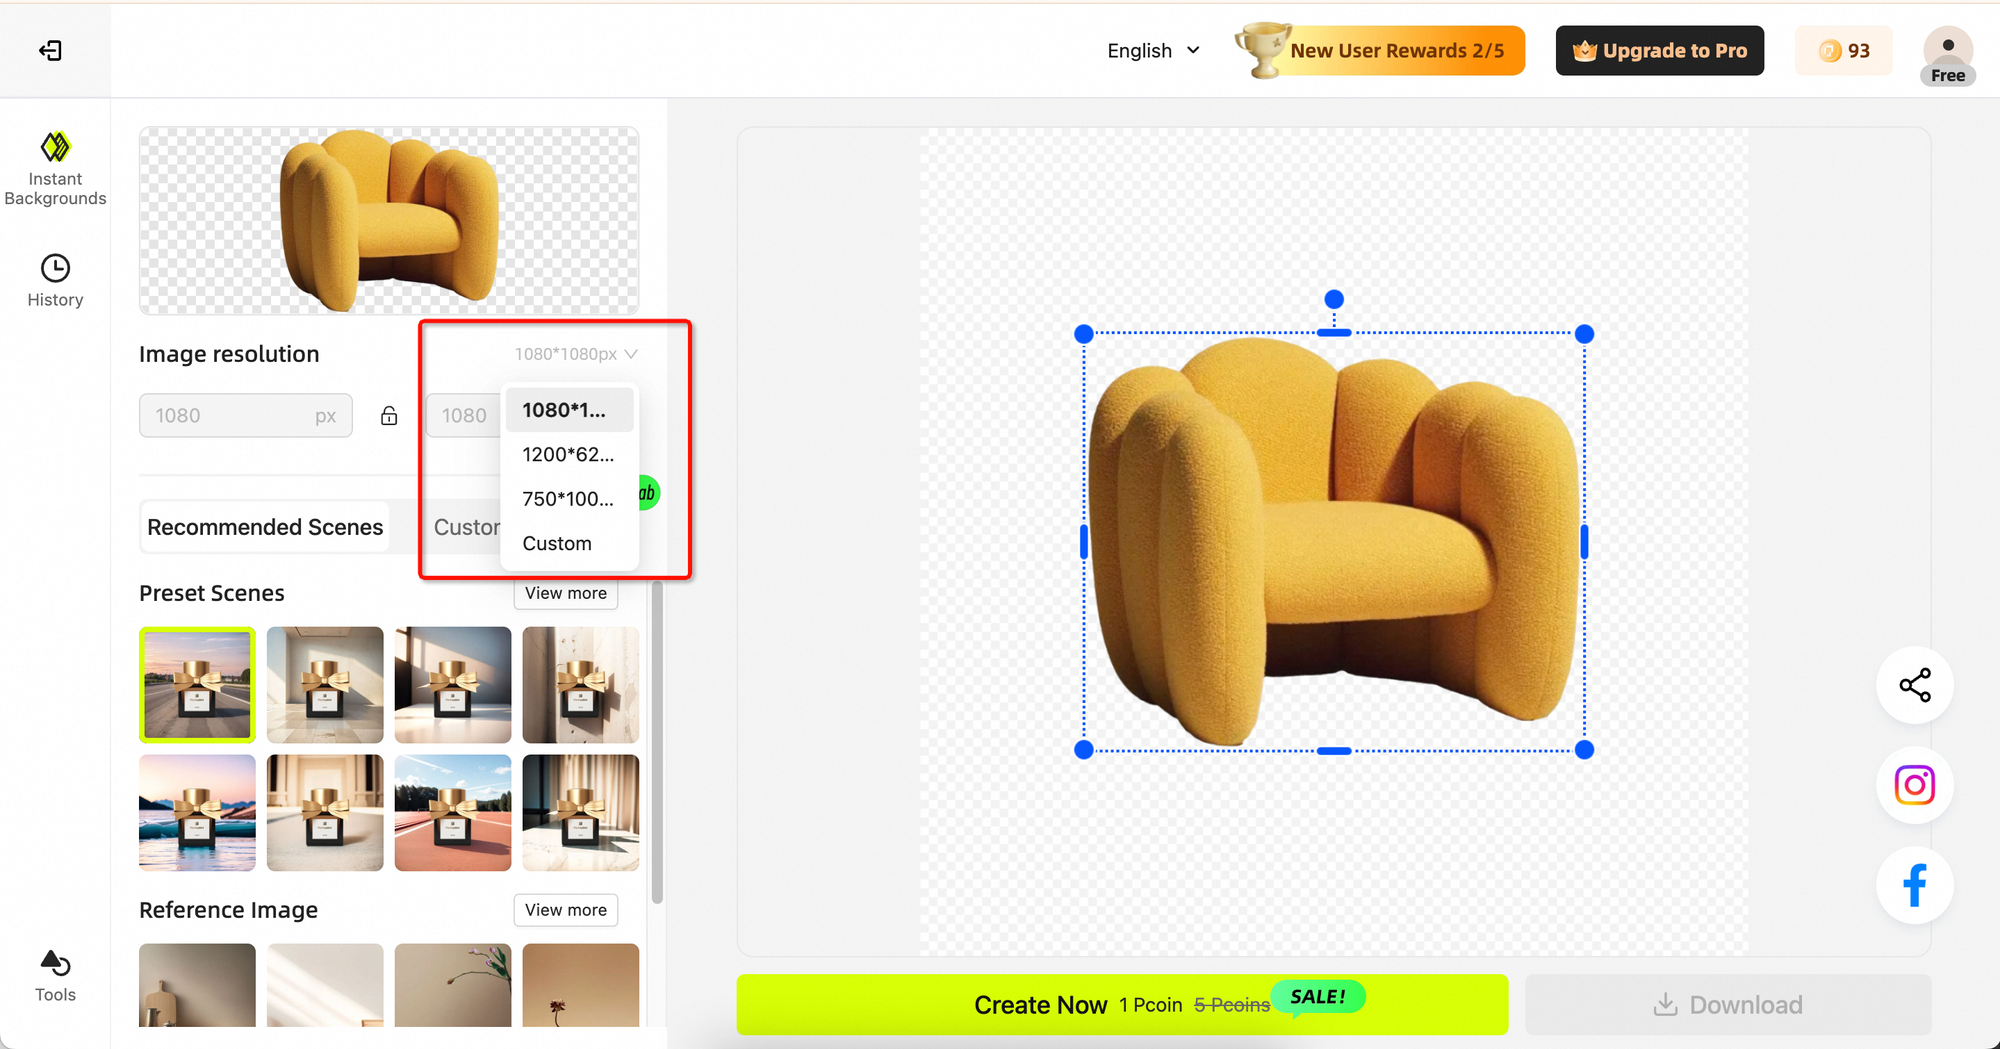
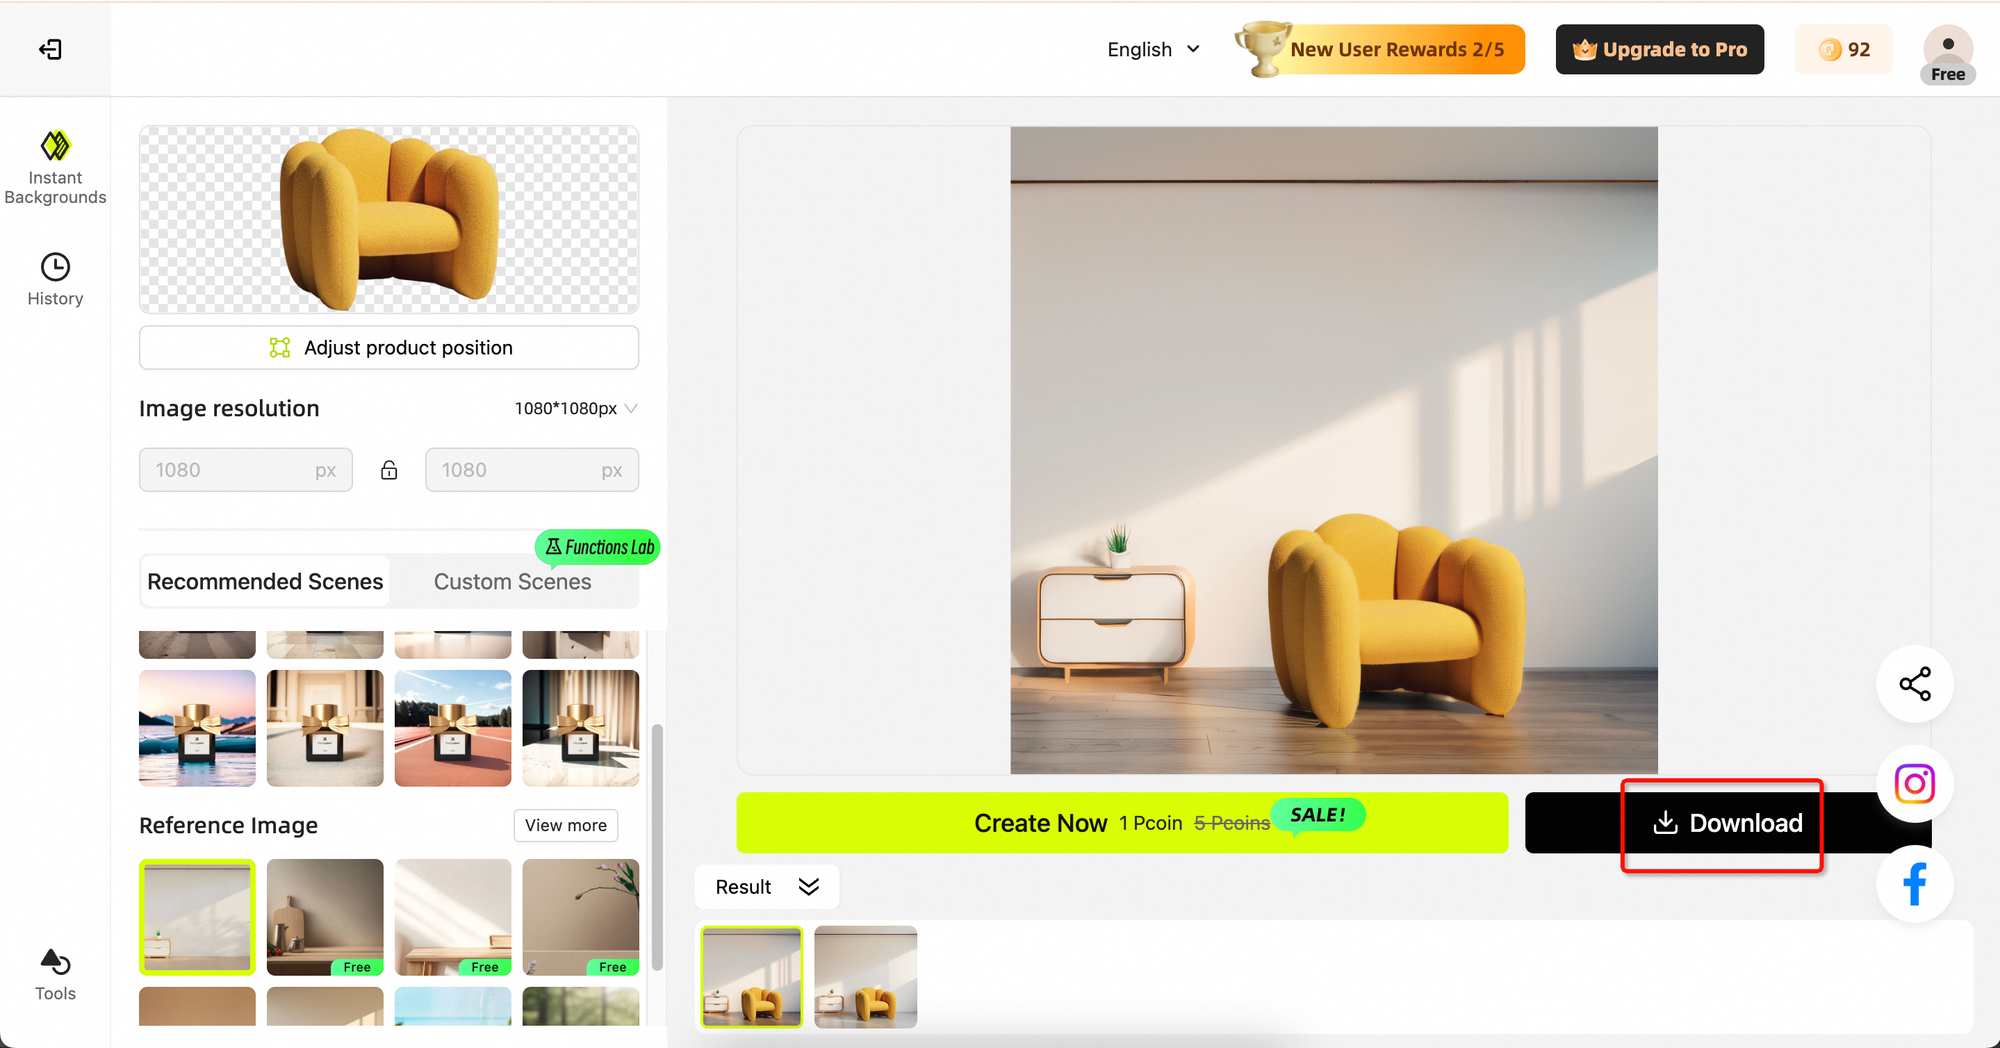
The background generation page is divided into four areas: 【Upload Product Area】, 【Image Size Selection Area】, 【Scene Selection Area】and【Image Generation Area】.

- The first step: Select the image size, select the image size from the standard options such as 1080*1080, 1200*628, 750*1000, etc.; if there are other size requirements, select【Custom】and directly input the required size!
- The second step: Select the scene template ("Recommended Scenes" or "Custom Scenes") and adjust the product
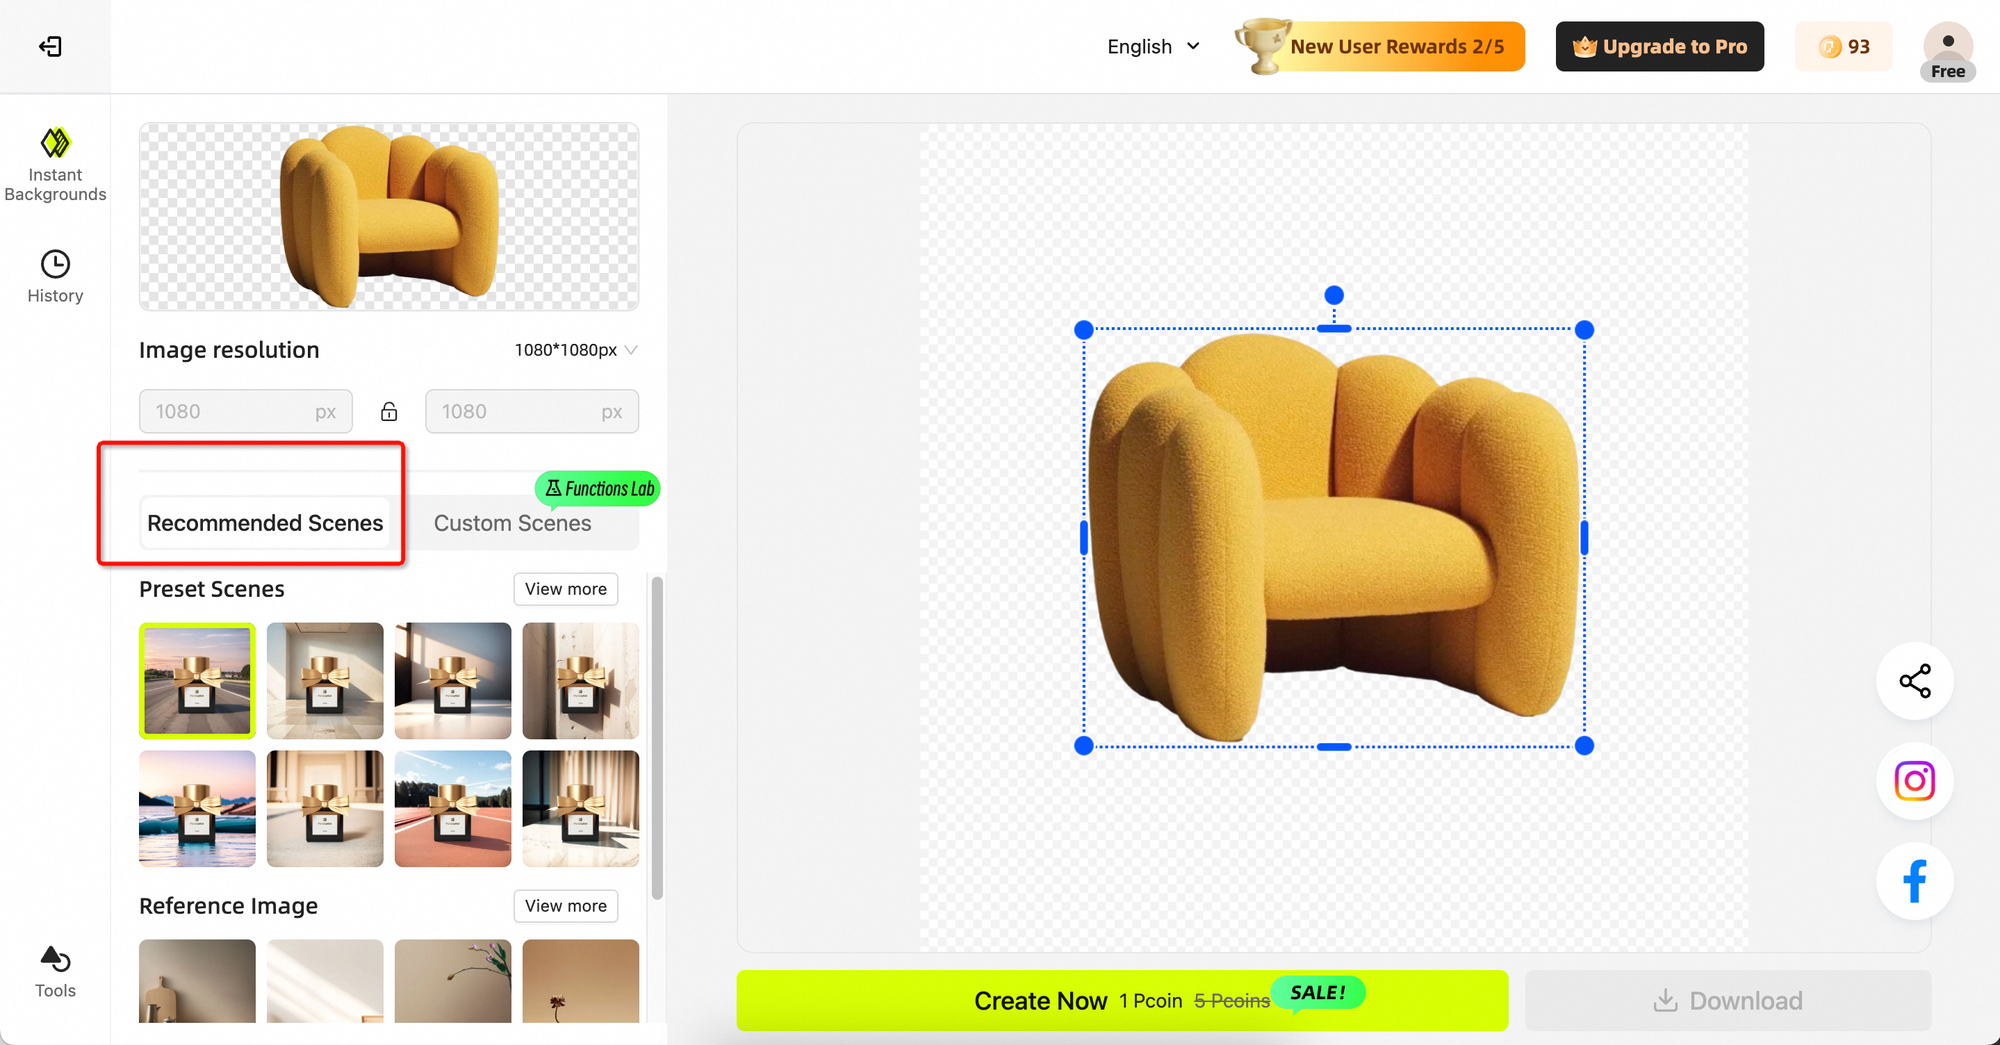
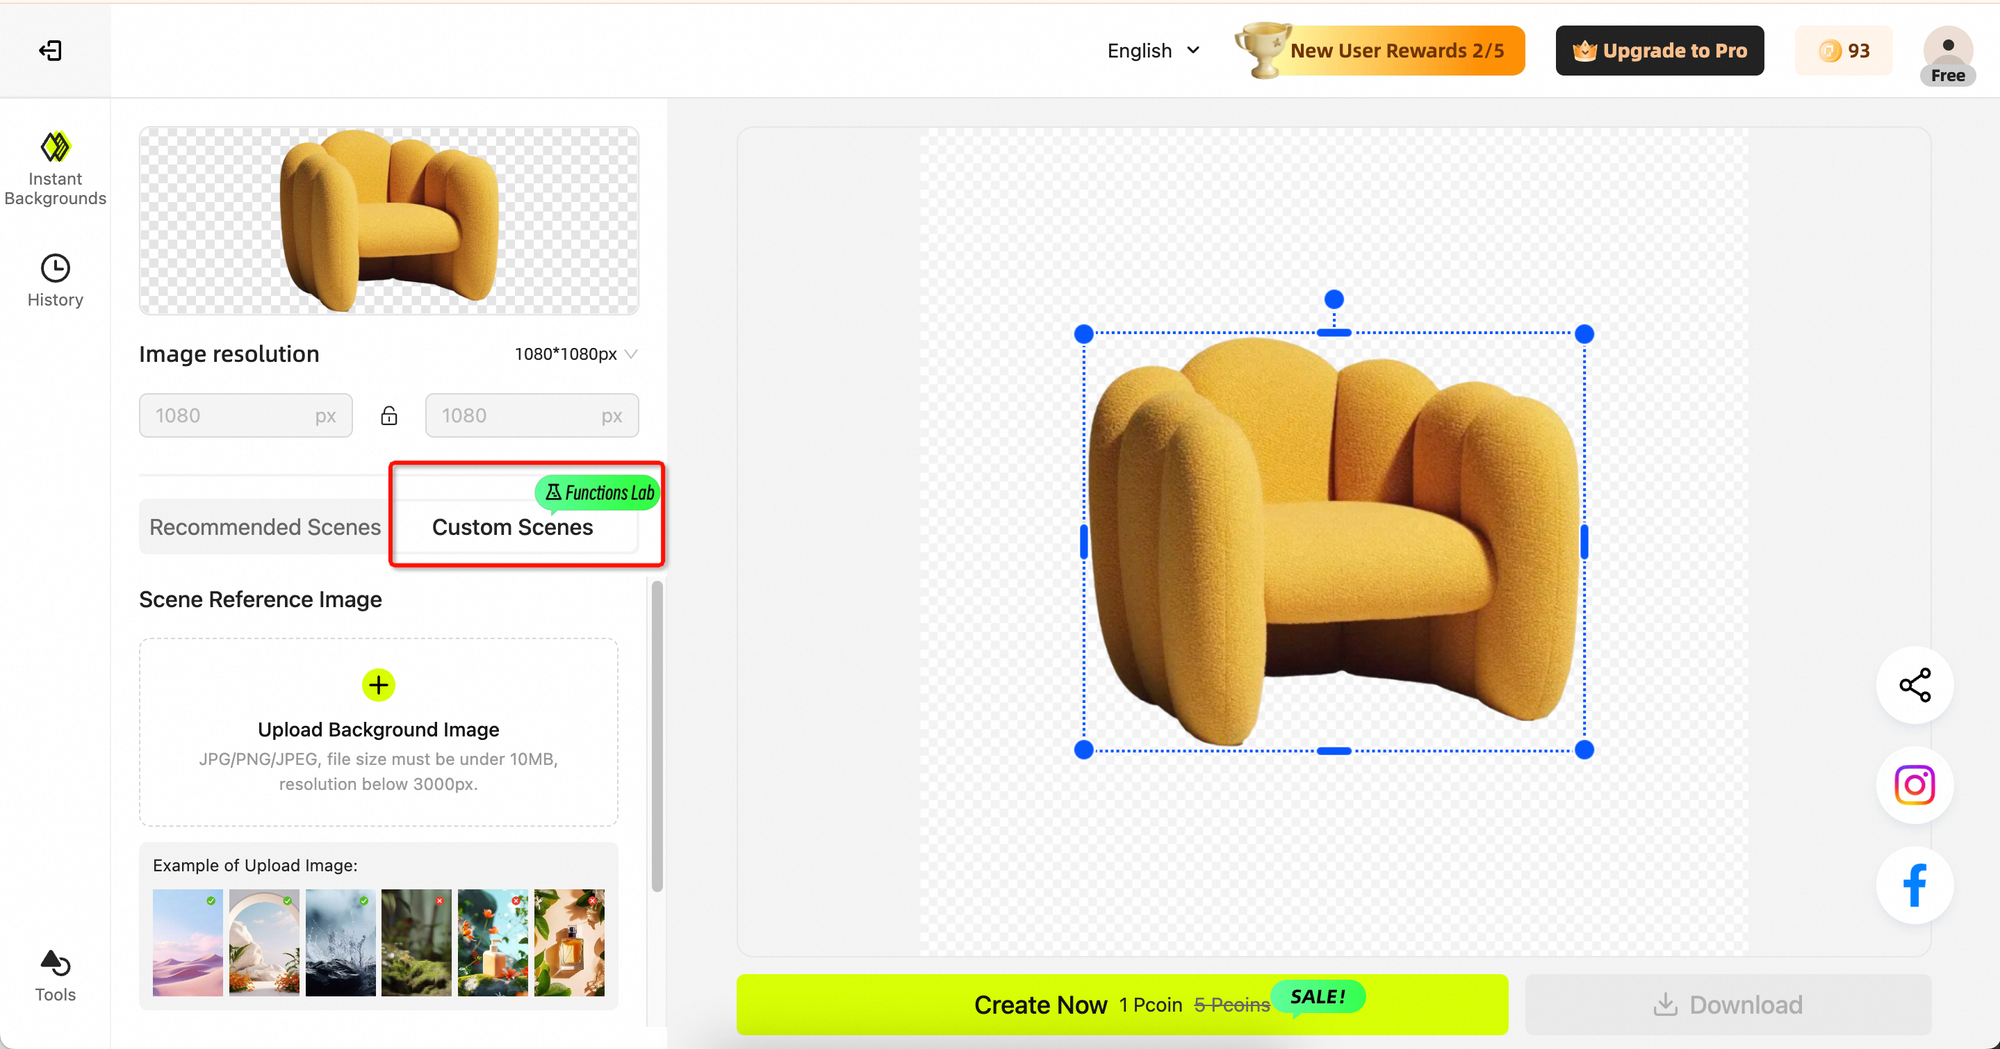
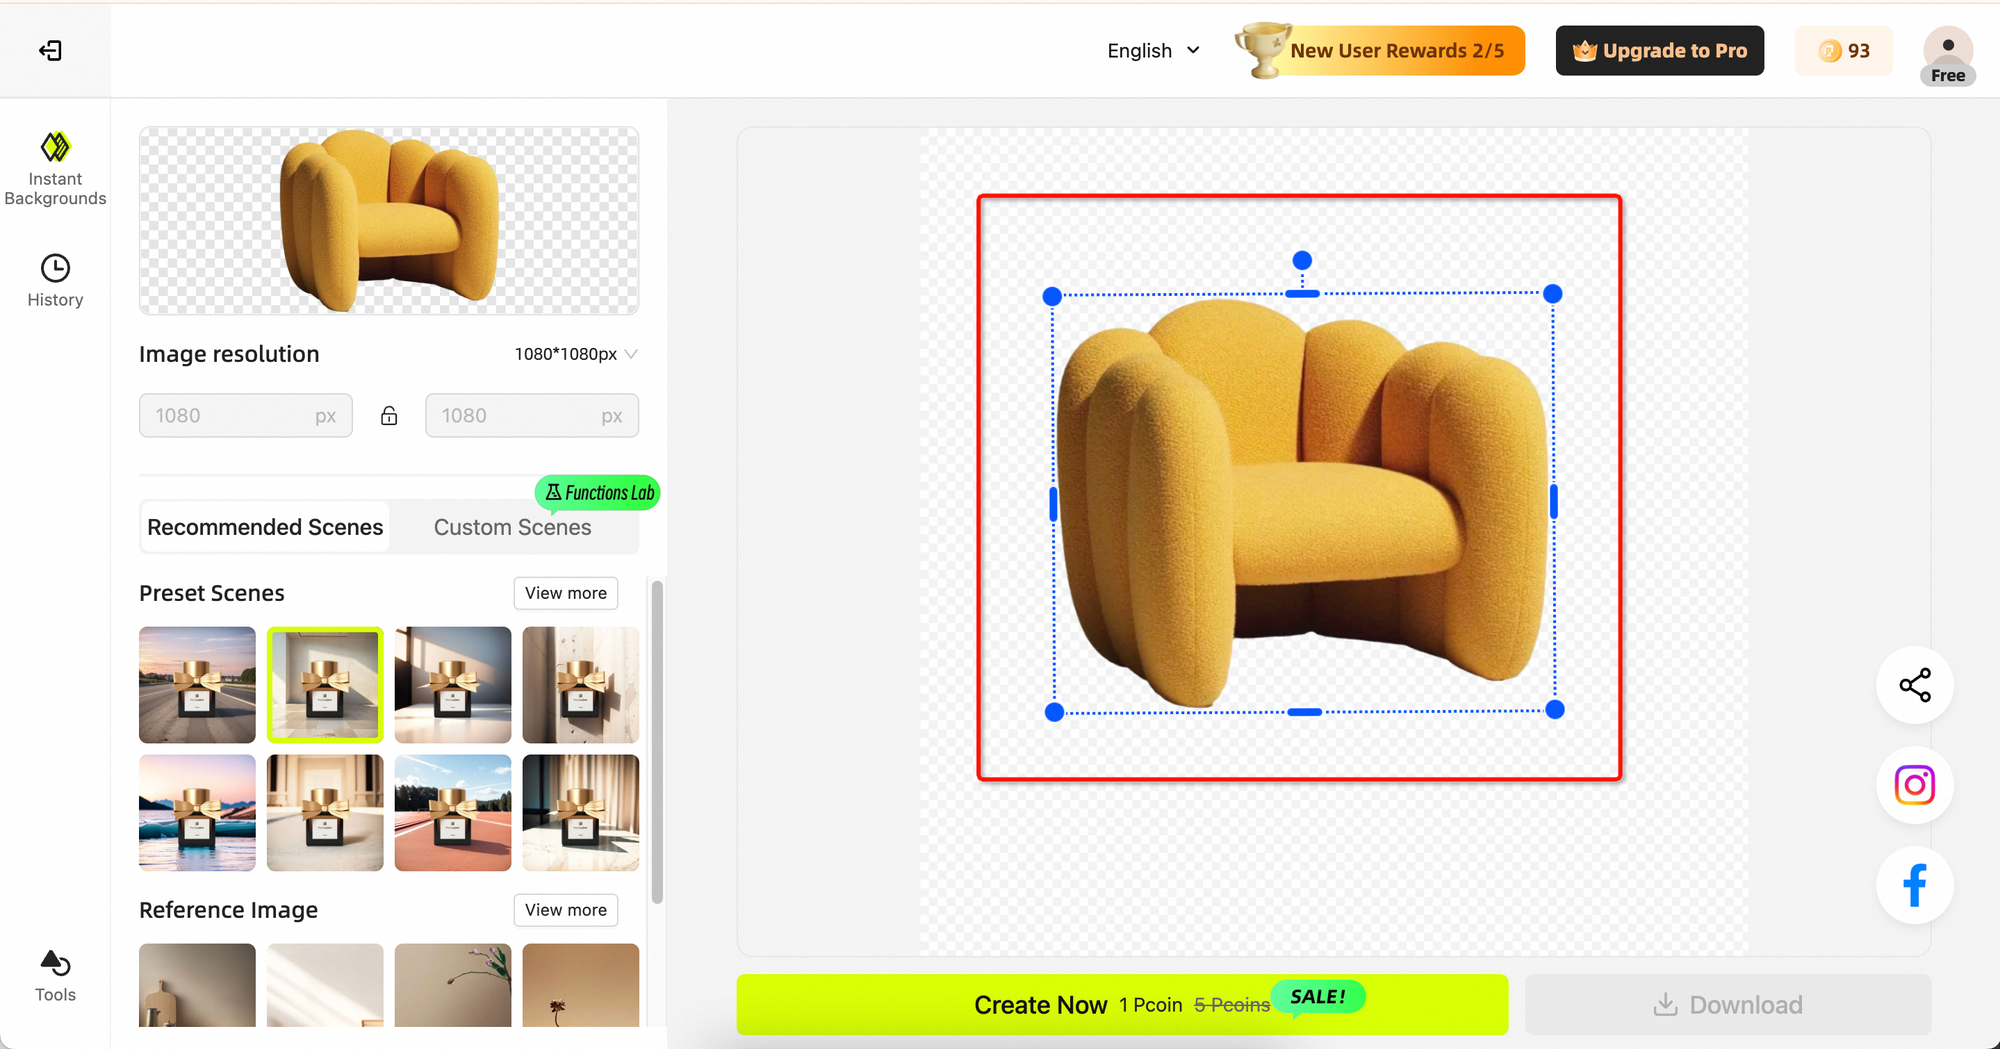
- Preset Scenes: Simply click on a template, and then adjust the size, position and direction of the product in the【Image Generation Area】.

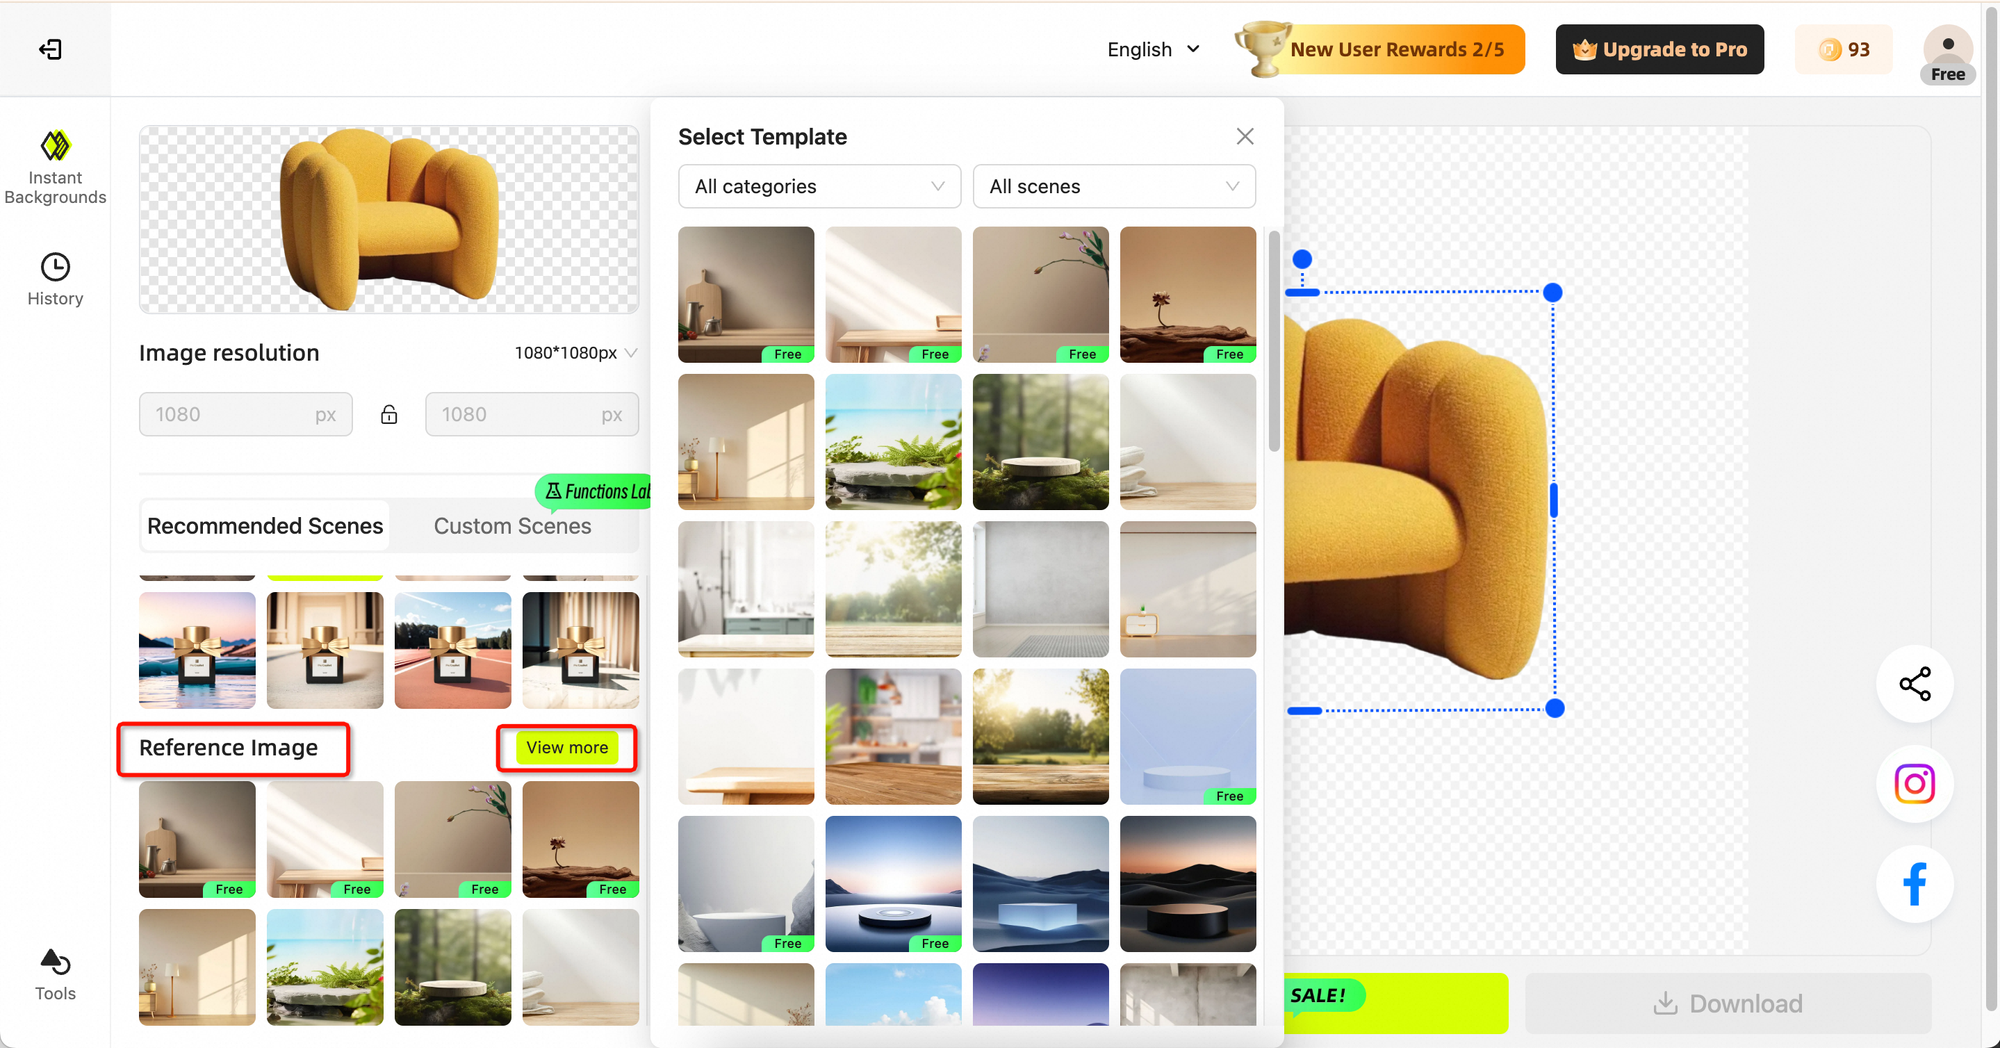
- Reference Image:Select a reference image template, adjust the products, and then adjust the size of the background as needed.

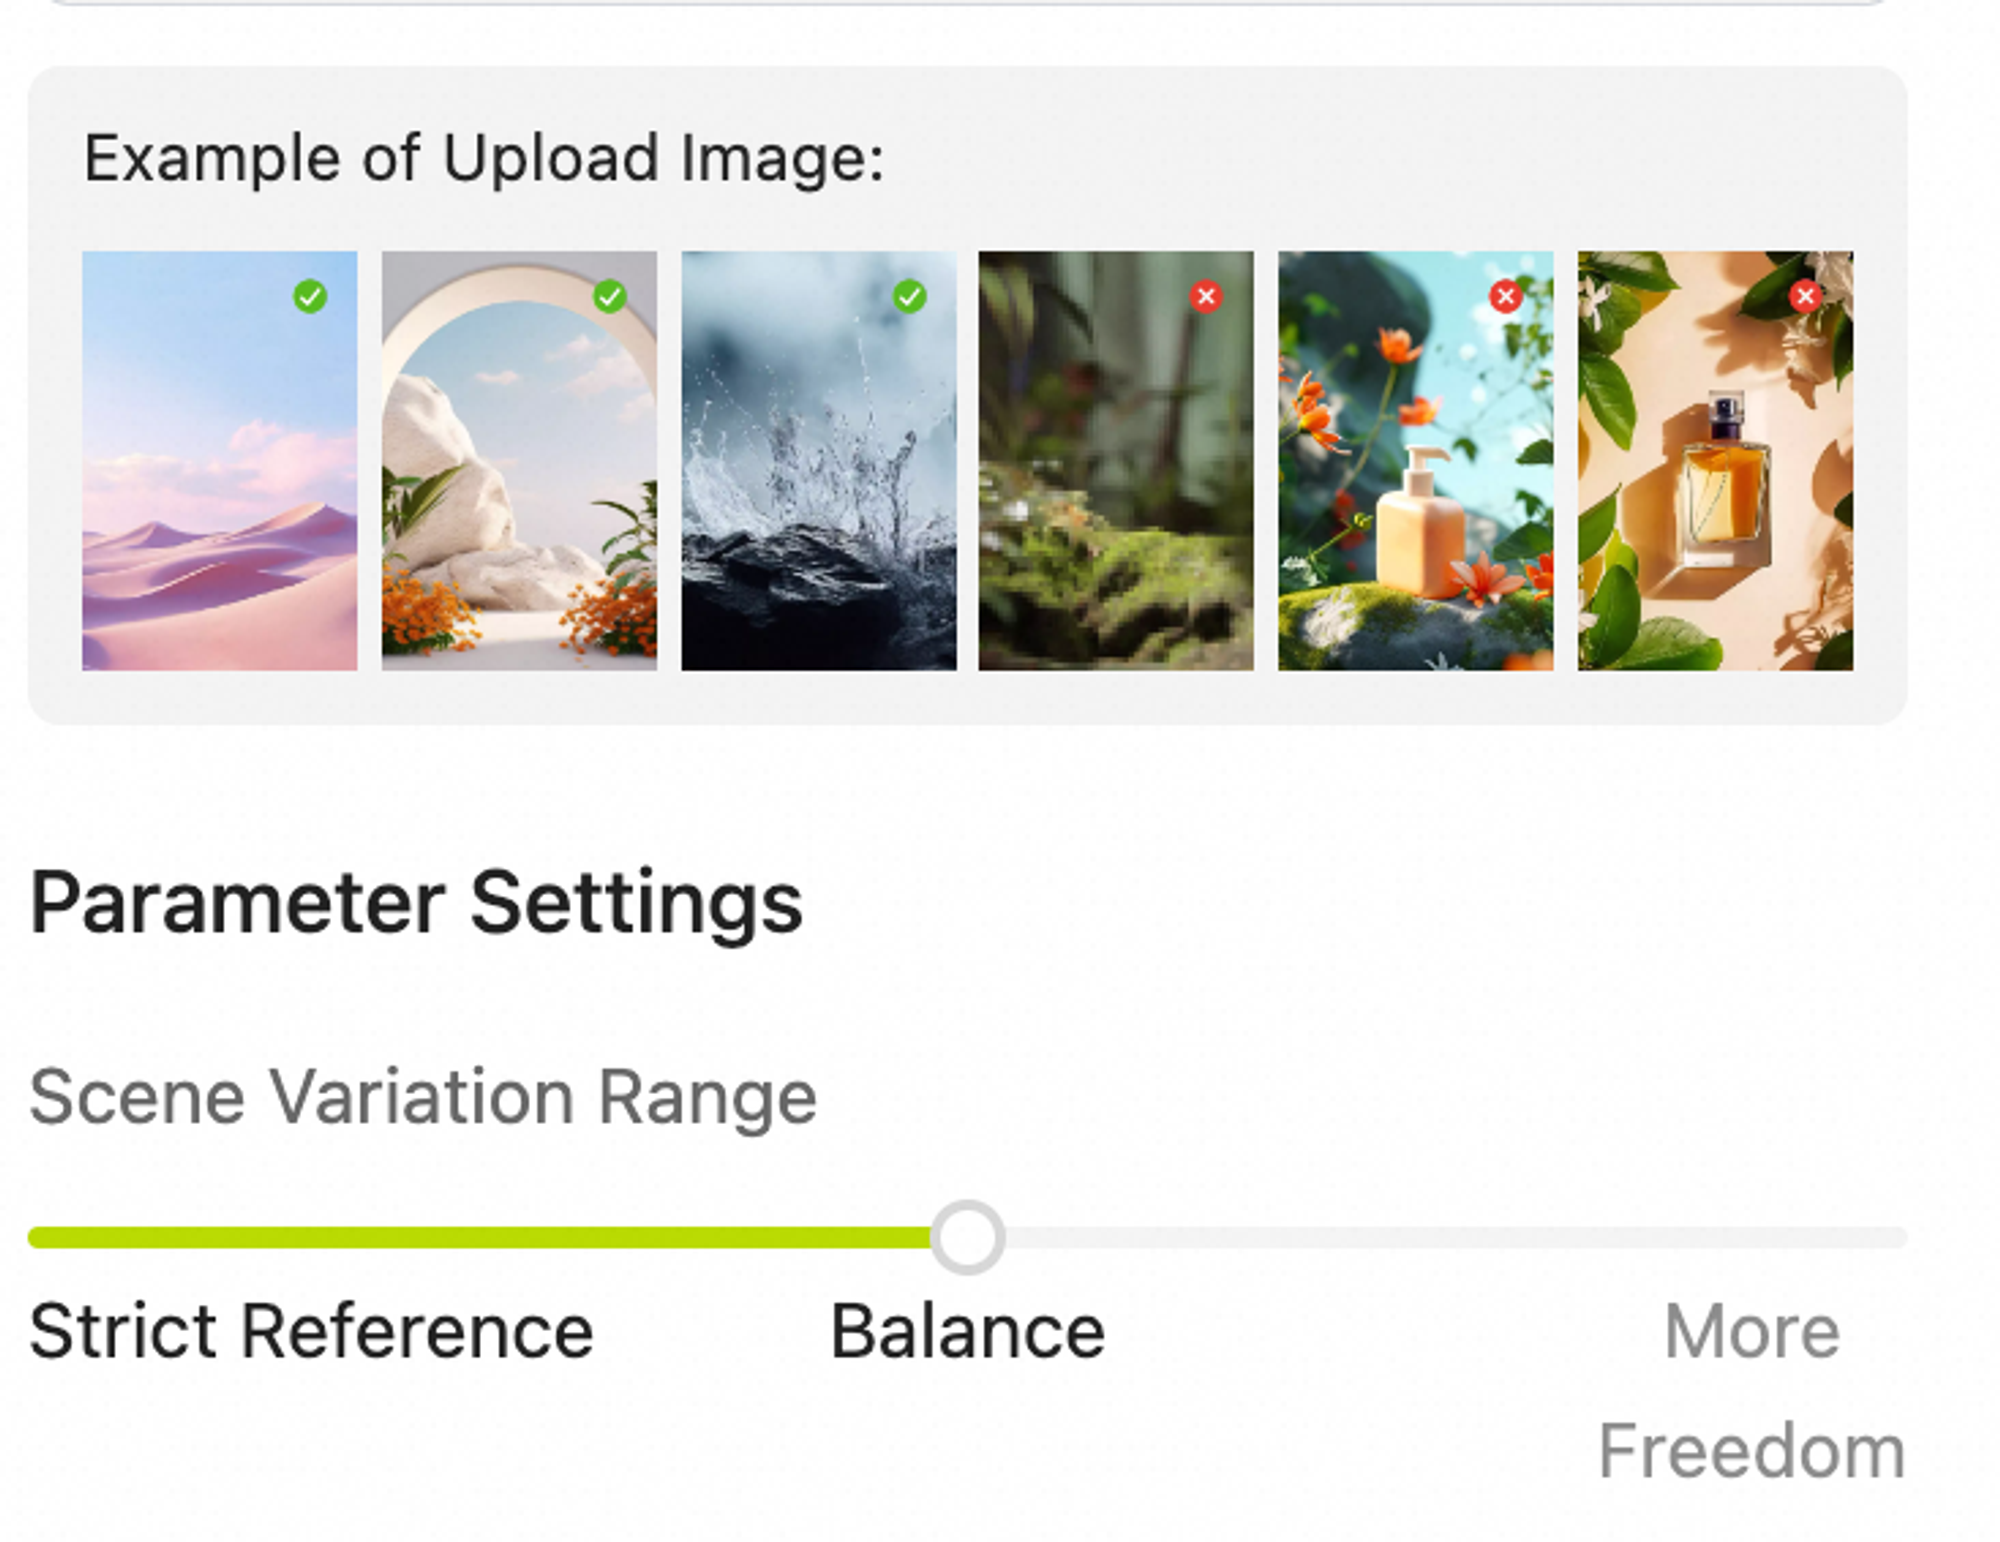
- Custom Scenes: Upload a reference image of the scene, position and scale the product, and then resize the background. Finally, select the degree of scene change.

Tips: When uploading a scene image, you need to comply with the standards. For best results, it is recommended to upload images that are clear and free of other products
- Click【Create Now】

- Click【Download】if you are satisfied with the result.
Tips: You can find【Batch operation】on the left side of【History】for batch downloading or deletion.
Q&A
Q1: How can I edit the image again after the image generation is finished?
A1: There are two ways to re-enter the editing state:
(1) Click【Adjust product position】in【Upload Product Area】.
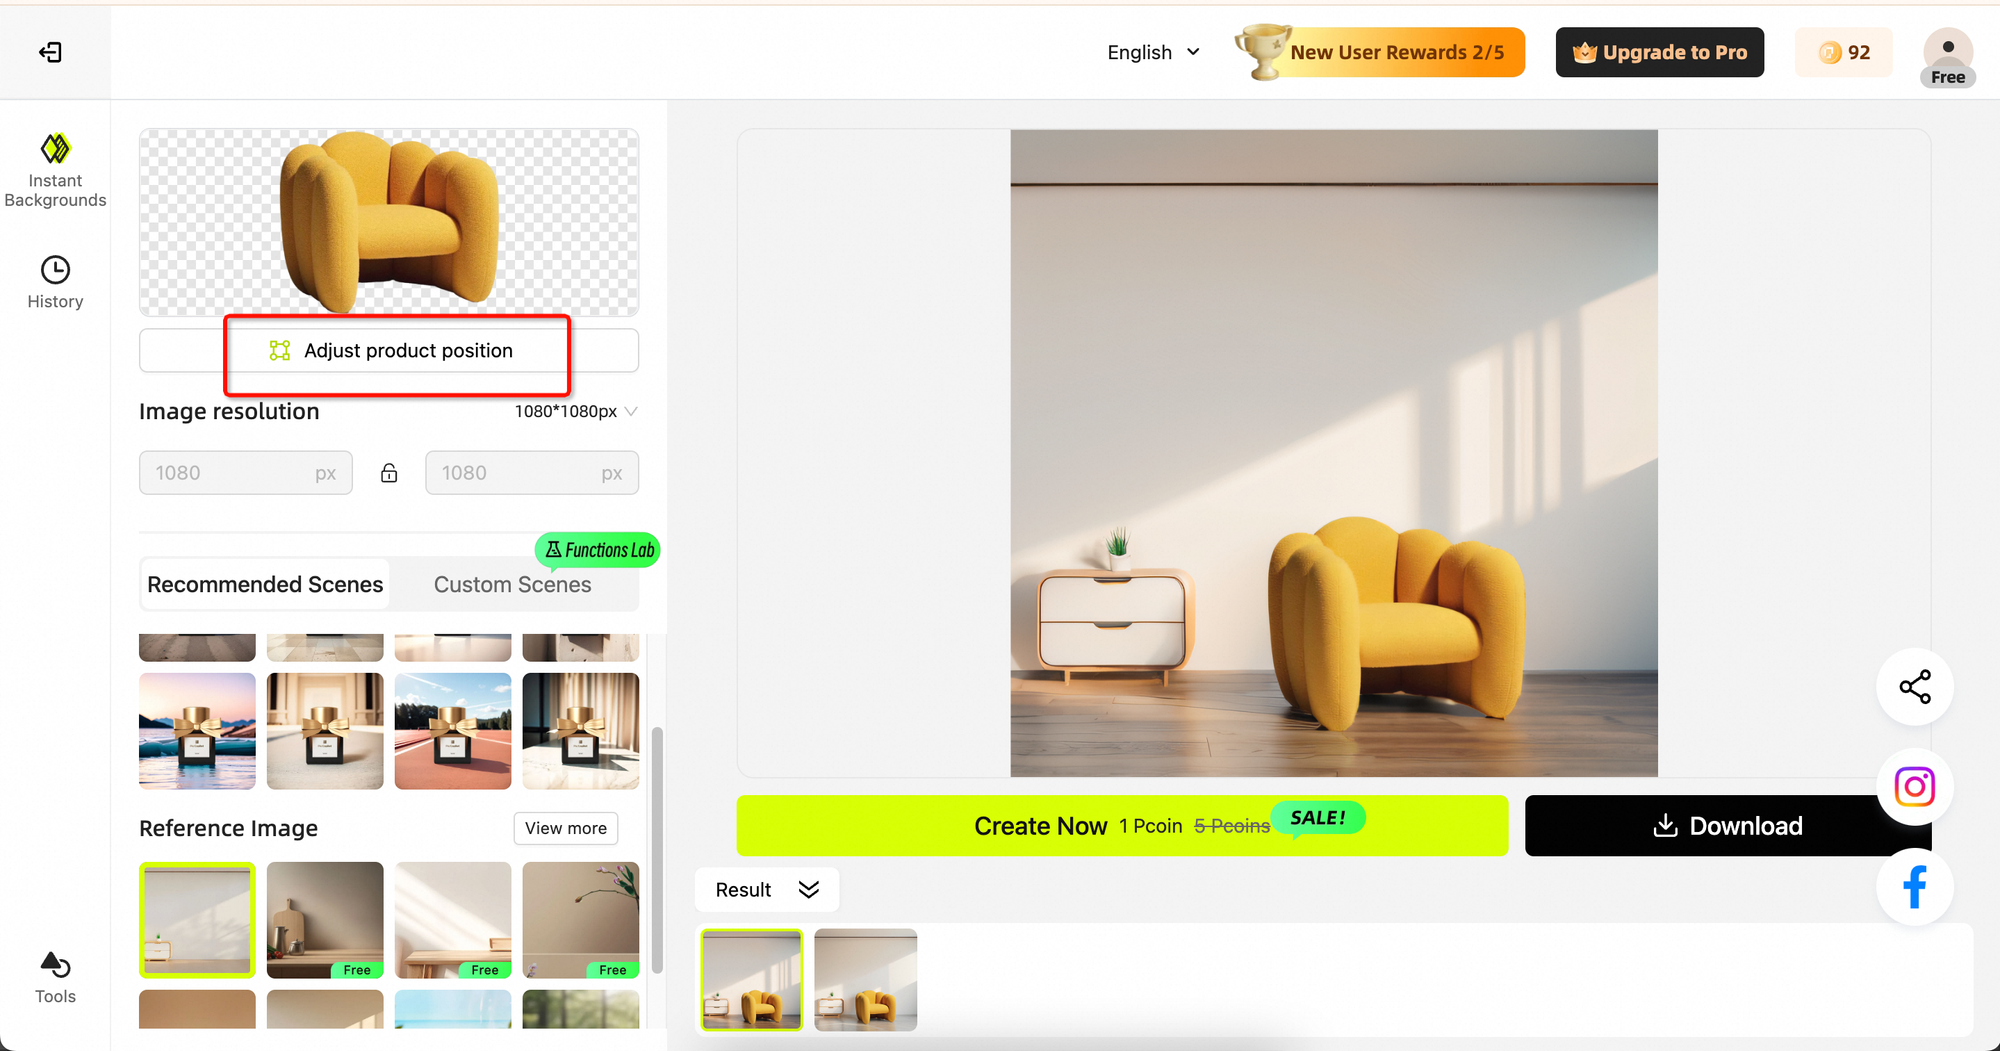
(2) Left column【History】- click【Edit again】.


